Move Columns in Excel
You can move columns in Excel by holding Shift and dragging them, or by cutting and inserting the cells. You can change the order of every column with one action.
💎 Shift Key
When moving columns in Excel, hold the Shift key to ensure that existing data is not overwritten.
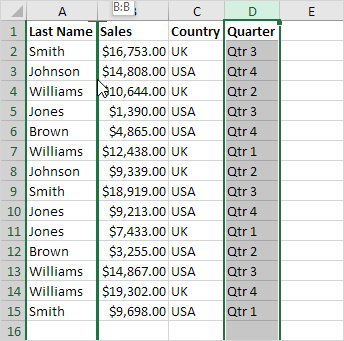
1. First, select a column.
2. Hover over the border of the selection. A four-sided arrow appears.
![]()
3. Press and hold Shift.
4. Click and hold the left mouse button.
5. Move the column to the new position.
6. Release the left mouse button.
7. Release the shift key.
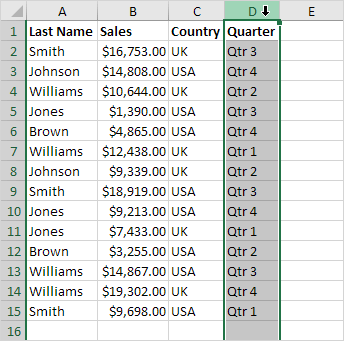
Result:
Steps to move multiple columns in Excel safely without overwriting data.
8. To select multiple columns, first click on a column header and then drag across the other headers.
9. Repeat steps 2-7.
Result:
Note: You can also move one row or many rows in Excel the same way.
💎 Insert Cut Cells
If you like the traditional method, follow these steps.
1. First, select a column.
2. Right-click, and then click Cut.

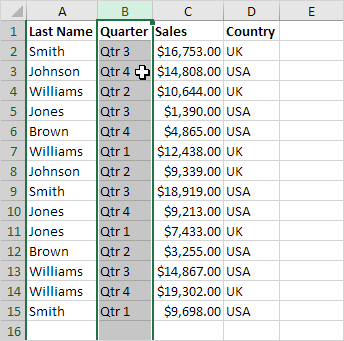
3. Select a column. The new column will appear before the column you selected.
4. Right-click where you want to insert, then select Insert Cut Cells.
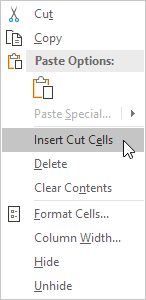
Result:
Note: Similarly, you can move multiple columns, a single row, or more than one row.
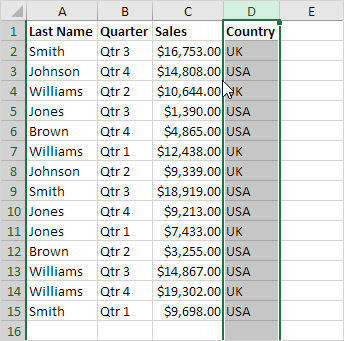
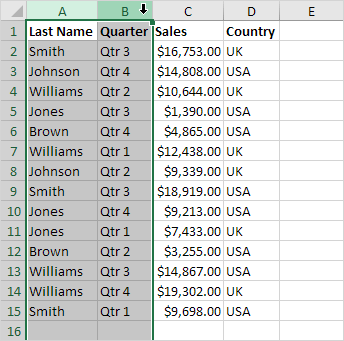
💎 Magic Move
You can now rearrange all the columns at once with a single action. Are you ready?
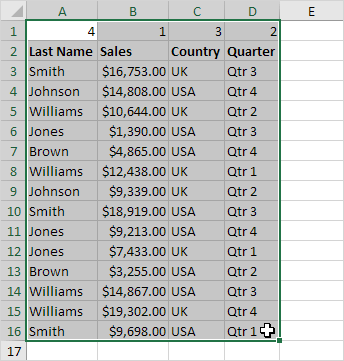
1. Select row 1.
2. Right-click, and then click Insert.

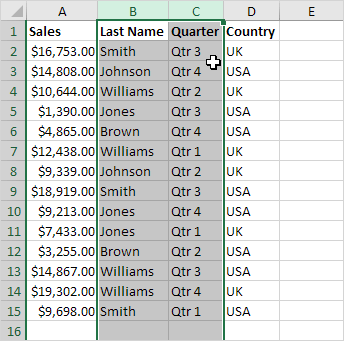
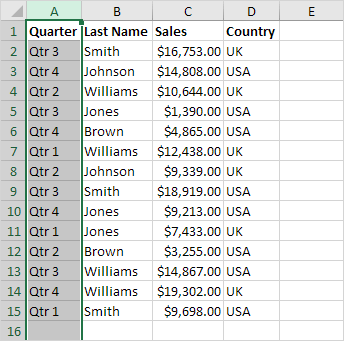
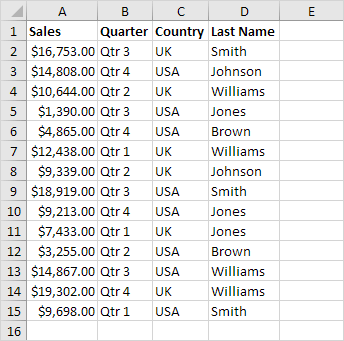
3. Use the first row to show the new column order: Sales, Quarter, Country, and Last Name.
4. Select the data.
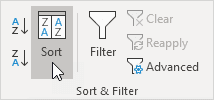
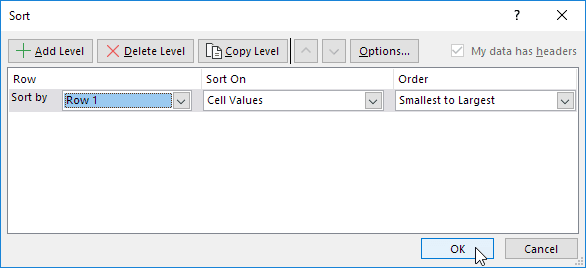
5. Go to the Data tab, locate the Sort & Filter group, and click Sort.
The Sort dialog box appears.
6. Click Options.
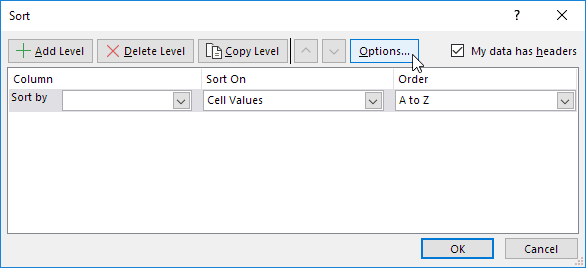
7. Choose the option “Sort left to right”, and then press OK.

8. In the ‘Sort by’ drop-down list, select Row 1, and then press OK.
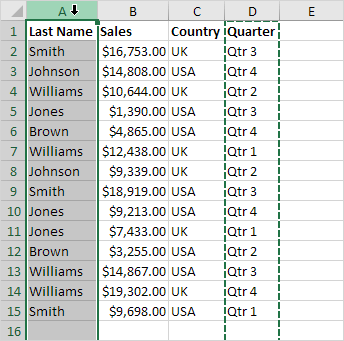
9. Delete row 1.
Result:
Note: This approach is helpful when you need to organize many columns in a different order.
11/12 Completed! Learn much more about ranges ➝
Next Chapter: Formulas and Functions