Split Cells in Excel
To split cells in Excel, insert a new column, adjust the column widths, and then merge the necessary cells. You can split the data in one cell into multiple cells by using the Text to Columns wizard, Flash Fill, or formulas.
💎 Split a Cell
Use the following method to separate the contents of a cell in Excel.
1. For instance, Task B starts at 13:00 and takes 2 hours to complete.

Suppose task B starts at 13:30. Our goal is to split cell B3 and highlight the right half with color.
2. Select column C.

3. Right-click, and then click Insert.

Result:

4. By default, each column is 64 pixels wide. Adjust the width of columns B and C to 32 pixels.

5. Select cell B1 and cell C1.
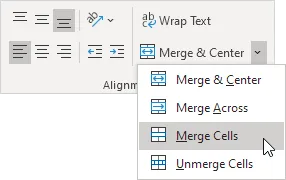
6. Go to the Home tab, find the Alignment group, click the arrow next to Merge & Center, and choose Merge Cells.
Result:

7. Repeat steps 5 and 6 for cells B2 and C2, as well as for cells B4 and C4.
8. Select cell B3 and change its background color to No Fill.
Result:

Note: Suppose task A ends at 15:30. Apply the technique described above to split cell E2. Download the Excel file and try it yourself.
💎 Text to Columns
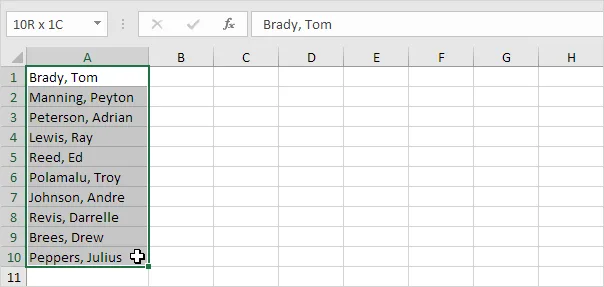
To divide the contents of one cell across different cells, try the Text to Columns option. For example, we can separate full names into first name and last name. (Excel column split)
1. Select the range with full names.
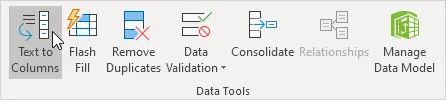
2. Go to the Data tab, then in Data Tools, click Text to Columns
The following dialog box appears.
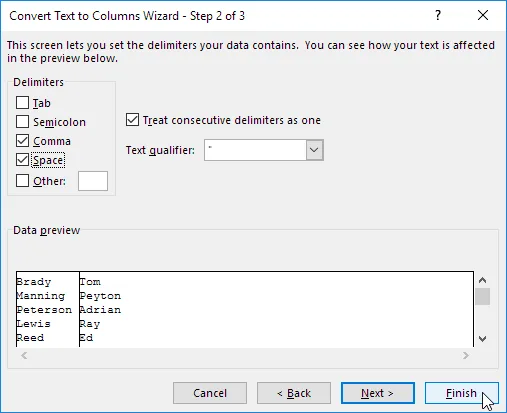
3. Choose Delimited and click Next.

4. Ensure that all delimiter check boxes are cleared, except for the Comma and Space options.
5. Click Finish.
Result:

Note: This example uses commas and spaces to separate items. You may have other delimiters in your data. Experiment by clicking on the checkboxes to check and uncheck them. You can see a live preview of how your data will be split.
💎 Flash Fill
Do you like Magic? Rather than using the Text to Columns wizard, you can use Flash Fill to separate data into multiple columns quickly.
1. Initially, split the contents of a single cell into multiple cells.
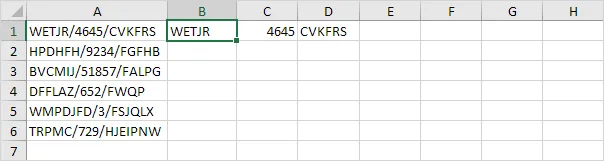
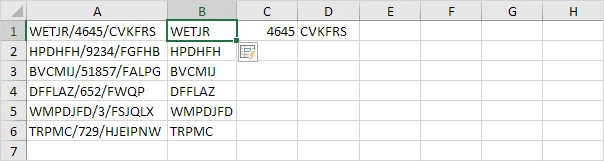
2. Click on cell B1 and press CTRL + E to use the Flash Fill shortcut.
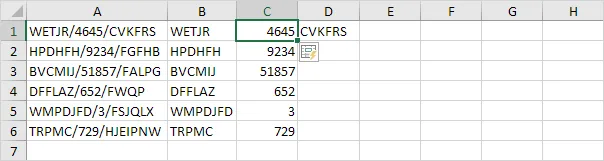
3. Go to cell C1 and press CTRL + E on your keyboard.
4. Go to cell D1 and press CTRL + E on your keyboard.
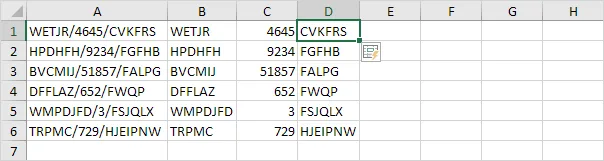
Note: Flash Fill in Excel works only if it can see a pattern. Download the provided Excel file and try it out.. Check out our Flash Fill page to understand this helpful Excel tool.
💎 Formulas to Split Cells
A limitation of these tools is that the results do not update automatically when the original data changes. Create formulas to overcome this limitation. We will separate full names into first and last names.
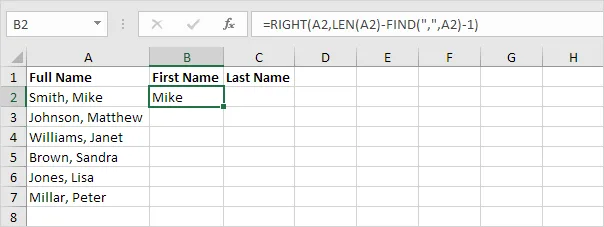
1. The formula below returns the first name.
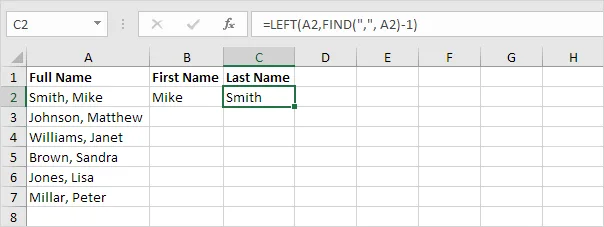
2. The formula below returns the last name.
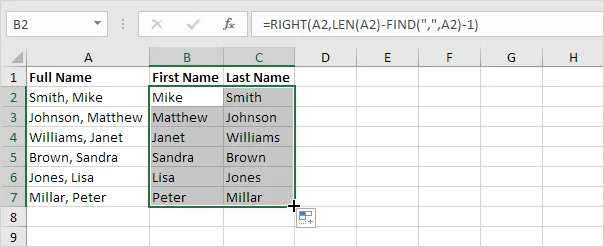
3. Highlight cells B2 through C2 and drag the selection downward.
Note: Check our page on separating strings to learn how these formulas work.
4. Excel 365 offers the TEXTSPLIT function, which enables users to split text into rows or columns according to selected delimiters.
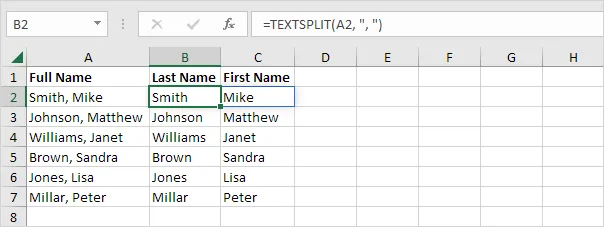
Note: When you use the TEXTSPLIT function in cell B2, it automatically fills both B2 and C2. Wow! This behavior is called spilling.
9/12 Completed! Learn much more about ranges ➝
Next Chapter: Formulas and Functions