AutoFit Rows and Columns in Excel
You may know how to adjust the width of a column in Excel, but you can also autofit rows and columns in Excel to match the height or width of the largest entry in each row or column.
AutoFit Column Width
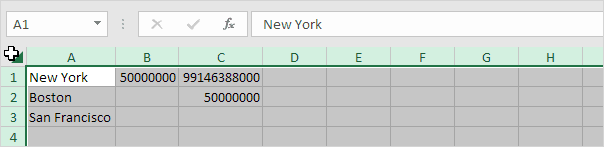
By default, each column is 64 pixels wide.
1. You can resize a column by dragging its right border in the header area.

2. Double-click the right edge of the column name to make it fit the widest cell entry.

3. Click a column header and drag over the others to select multiple columns.

Note: You can select columns that are not next to each other. Hold down the CTRL key and click each column name that you want to select.
4. Now, double-click the right border of any column title.

5. To resize all columns, start by clicking the Select All button to select them.
6. Next, change the width of a column.

AutoFit Row Height

The same techniques can be used to adjust a row’s height. Instead of double-clicking the right side of a column name, click the bottom line of the row number. There is also an alternative way to autofit columns or rows.
1. First, select multiple rows by holding and clicking each row name you want to select.

2. Now, go to the Home tab. Then select the Format option inside the Cells group.

3. Click AutoFit Row Height.

Result:

Note: The same process can be used to set row height or column width (see screenshot at step 3).
7/12 Completed! Learn much more about ranges ➝
Next Chapter: Formulas and Functions